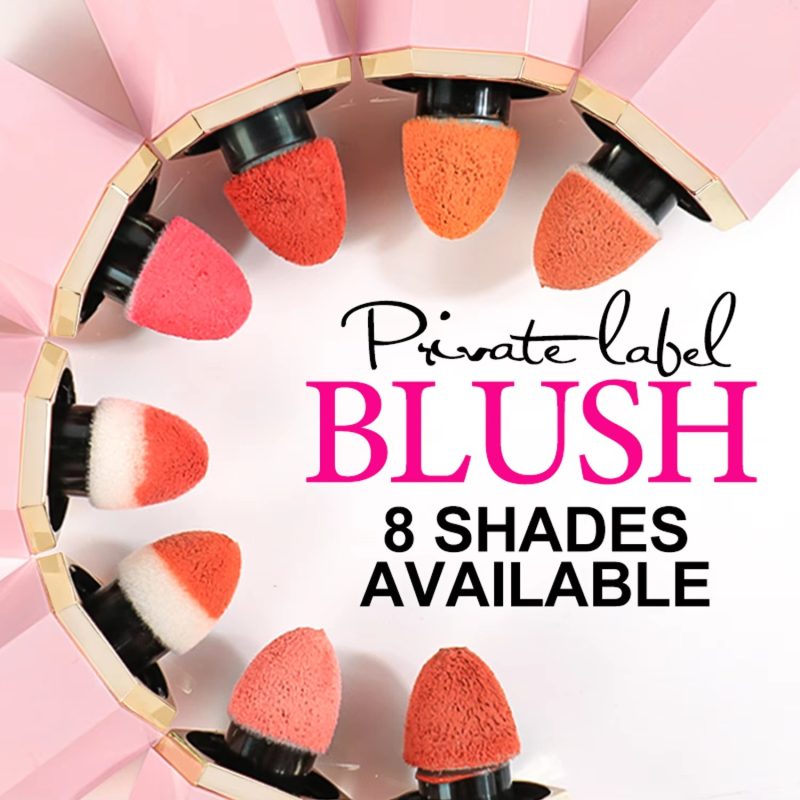
Among all the stunning beauty products, you might overlook blush as an add-on: a rookie mistake. Just a few strokes of blush can make your complexion look healthier and your skin appear younger. It adds a radiance that bronzer and highlighter can’t mimic. However, it can be one of the most confusing makeup products to use. It’s not as simple as a swirl on the cheek.
Whether your blush won’t stay put, you’re worried about using the wrong color or formula, or you don’t even know where to start, we’re here to help. Get that lasting, beautiful glow whether your skin is naturally oily, dry, or simply sweats. These excellent blush tips make this super-flattering (and surprisingly versatile) product suit your face shape, skin tone, and lifestyle.
1. First, prepare your skin the right way.
To help blush blend into your skin and keep your makeup intact all day, always start by washing your face and moisturizing. Dry (or oily) skin also doesn’t hold makeup well, so keeping your skin healthy, exfoliated, clean, and soft allows for more beautiful, long-lasting makeup.
To make your blush last even longer, use a makeup primer that preps the skin and provides a non-slip canvas to help makeup stay put all day. If you don’t want to invest in another beauty product, apply a layer of foundation or tinted moisturizer to even out your skin tone and help the blush adhere for longer.
2. Choose the right shade for your skin tone.
Blush isn’t a one-size-fits-all deal – you need to pick the correct shade to flatter your skin tone. Something too dark or too bright can actually age you instead of giving you a warm, youthful glow. The key is to choose something close to your natural flush and figure out the best way to pinch your cheeks. If you’re still unsure, follow these tips to find your best shade:
![图片[1]-14 Tips for Perfect Blush Application-Guangzhou Dikou Cosmetics Co.,Ltd](https://www.gddikou.com/wp-content/uploads/2025/12/bf23c9db8a20251211090922.jpg)
- If your skin is very fair or light, opt for light pinks for a pretty pop of color that won’t overpower your tone. Light pink and lavender formulas offer a sheer, clean color that brightens your complexion without looking garish.
- If your skin is medium-light, go for peachy-pink shades that give your skin a flattering, luminous glow. Since this shade is generally very flattering, try the peachy formula if you have any doubts. We love the NARS Blush in Orgasm and the Maybelline Face Studio Master Glaze Blush Stick in Coral Sheen.
- For golden or olive skin tones, warm undertones pair well with bright, vibrant pinks. For these medium skin tones, we love the Revlon Cream Blush in Roused.
- Darker skin tones can carry brighter hues with warm undertones, like bright apricot, for an ethereal glow and truly radiant effect. Try the Milani Baked Blush in Corallina – even though the shade looks bright, it melts into the skin for a natural look.
3. Find the blush formula that suits your skin type.
Choosing the right blush isn’t just about shade; you also need to find the perfect formula. Blush comes in three types: powder, cream, and stain.
- If your skin is oily, cheek stains will work wonderfully. Stains look dewy and last a long time, even if you sweat frequently or your skin tends to get oily. Apply a little at a time – once it sinks into the skin, it’s hard to blend (hence the name!).
- If your skin is normal or combination, cream formulas are fantastic and offer high staying power. Cream blushes are easy to use for most skin types, come in tons of colors, and give the skin a fresh, youthful look.
- If your skin is dry, stick with powder formulas. Blush powder glides over pores, creating a blurring effect. Contrary to popular belief, stains and creams aren’t that great for dry skin: they can crack when dry, accentuating dryness.
4. Choose the right blush brush.
It’s true that your makeup will only look as good as the tools you use, and “if you’re going to spend money on any tool, do it on a blush brush!” advises Laramie Glen, a makeup artist in New York City. “It should be dense, made of natural or vegan hair, soft, and great at diffusing color.” A tightly packed brush might pick up too much product, flooding your face with color, but a looser brush picks up less product while still providing a powerful enough color payoff to make a difference.
Makeup artists and experts at the Good Housekeeping Institute Beauty Lab have tested the best makeup brushes and recommend the Sigma Beauty F10 Powder/Blush Brush: it’s soft, easy to maneuver, and won’t break the bank. Swirl the brush in the product and make sure to tap off any excess before applying it to your face to avoid blobs of color on your cheeks.
5. Apply blush according to your face shape.
Blush is designed to strategically emphasize your face, which means you first need to consider its bone structure.
- Heart-shaped face: If your face is long with prominent cheekbones and a narrow chin, you likely have a heart-shaped face. Apply blush in a “C” shape from the top of your temples all the way to your cheekbones. Use more product along the cheekbones, then blend it upward toward your temples, pushing upward.
- Oval face: If your forehead, cheeks, and jaw are all about the same width, you have an oval face. Starting at the most prominent part of your cheek, apply blush to the apples of your cheeks, blend the color toward your nose, and then extend it toward your temples. Add a touch of blush to the sides of your forehead and eyebrows to perfect the look.
- Square face: If the sides of your face are straight and your jawline is fairly flat (think Olivia Wilde or Angelina Jolie), you have a square face. Glen says, “With a square face, you want to hit all the cheekbones from the corner of your brow to your hairline.” Sweep blush across your cheekbones with a gentle, long motion, starting low and moving upward. Pull the blush from your brow toward your nose on your face, being very soft and blending.
- Round face: If your cheeks are the fullest part and your chin is curved, you have a round face. For the best blush application, look in the mirror, smile, and brush blush onto the apples of your cheeks. Using a foundation brush and medium-sized strokes, brush upward toward your temples and downward toward your earlobes to blend the color.
- Oblong face: If your face is long with somewhat prominent cheeks, a narrow chin, and a narrow forehead, you have an oblong face. Glen recommends starting at the most prominent part of your cheekbones and, using soft strokes, work the blush toward your earlobes and blend toward your temples.
6. Blend, blend, and blend.
Using blush in the right areas isn’t enough – you also need to make sure it’s blended evenly. Use a damp sponge or a brush with stiff bristles to blend the blush onto your face. Remember: your blush should mimic a natural flush, not clown makeup. You want the color without harsh lines while still providing noticeable, glowing color.
7. Matte blush, translucent foundation.
If you’ve accidentally piled on too much blush, don’t grab for makeup remover. Instead, use a damp makeup sponge to dab a little translucent foundation over the heavy blush on an even foundation. This will tone down the color while still leaving a rosy glow.
8. Learn to use blush at every step of your daily routine.
![图片[2]-14 Tips for Perfect Blush Application-Guangzhou Dikou Cosmetics Co.,Ltd](https://www.gddikou.com/wp-content/uploads/2025/12/bb612a3e3120251215091445.jpg)
One of the best things about blush: you can use it on any facial feature. Apply cream blush to your cheeks, then use a loose synthetic brush to sweep the blush from your cheekbones to your hairline. Then, tap the remaining product on your eyelids with your finger, blending upward toward your brow bone. Avoid placing any color right by your lash line, as you don’t want to end up looking tired.
Glen adds, “If you’re putting a red or pink blush on your eyes, it must be kept farther from the lashes or separated from them with black eyeliner.” Finally, put more blush on your finger and press it onto the center of your lips, then blend. Swipe on your favorite lip balm, and you’re all set.
9. Set your blush with tissue paper.
While translucent powder is a great product for setting makeup, Glen warns that it can make the skin look dull, especially if it’s dry. Instead, hold a tissue against your cheek and gently press with a makeup sponge to set the blush. This absorbs any excess product without diminishing the glow.
10. Know when to skip shimmery formulas.
Sparkly, shimmery blush can make smooth skin look bright and glowy, but Glen advises against using it on rough, dry, or uneven skin texture – the shimmer can magnify acne, bumps, and large pores. If your skin texture is rough or you’re dealing with winter dryness, stick with matte or cream finishes.
11. Don’t forget blush when contouring.
By now, we all know contouring is a great way to sculpt cheekbones and jawlines with makeup alone, but if you don’t add blush to the finished look, you might be missing an important step. Contour queen Kylie Jenner swears by adding extra blush at the end of her daily makeup routine.
“Blush makes me feel… like my whole makeup is complete,” she said while applying the final touch. After applying contour, use blush to add warmth to your cheeks and cheekbones before finishing with highlighter. It makes the finished look warmer and more natural.
12. Layer blush formulas for long-lasting effects.
Prepping for a long day or a special occasion where you can’t touch up your makeup? Layer blush powder over a cream or gel formula for a beautiful, customized look that won’t fade. But remember: you’re applying double the formula, not double the color. Use as little of each product as possible to avoid over-application – you don’t want to show up looking like a Toddlers & Tiaras contestant.
13. Use a bit of lipstick as a temporary cheek color.
If you’re in a pinch and don’t have blush, use a little lipstick to add a touch of color to your cheeks. Just make sure to blend quickly – if it’s a pigmented lipstick, it can set fast and look patchy.
14. Finish your makeup with setting spray.
I hope this detailed translation is helpful for you. Do you have any other questions about makeup techniques or products?