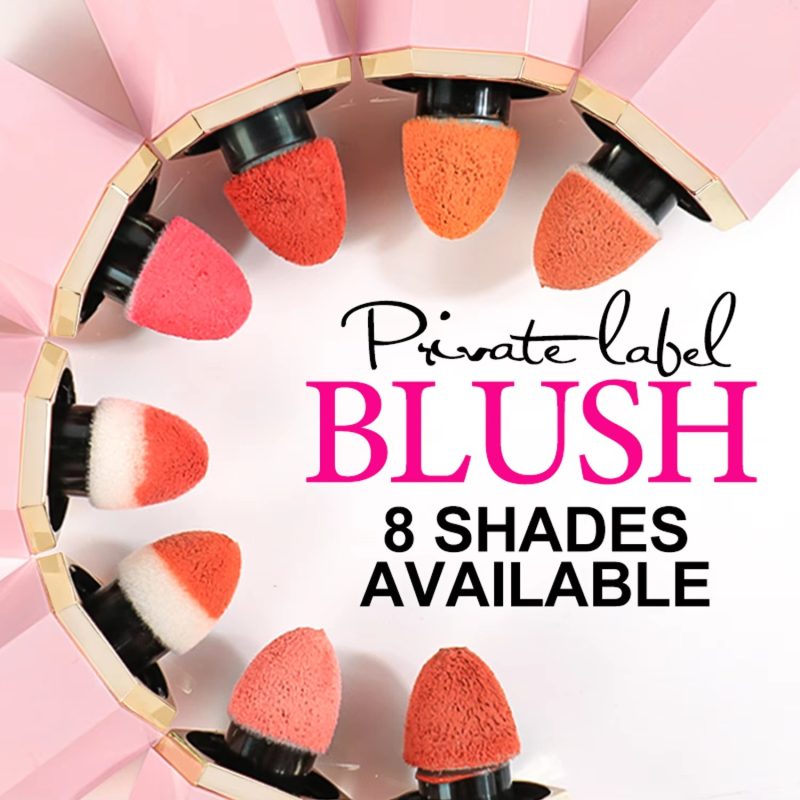
There are so many pressed powders out there right now. Matte, glowy, blurring, baking, setting, touch-up — the names alone give me a headache. And every brand claims theirs is “the one.”
But how many of them have you tried, only to look in the mirror two hours later and see patchy flakes around your nose and a weird dry line under your eye? Yeah, me too.
I’ve been there — buying whatever went viral on TikTok, only to realize that powder and I were not friends. But here’s the thing: it wasn’t the powder’s fault. It was mine. I just didn’t know how to use it right.
So if you’ve ever felt betrayed by a powder that looked great in the pan but terrible on your face, read on. Here’s how I learned to make pressed powder work — in four simple, no-BS steps.
Step 1 – Don’t dig. Dab. 🌸
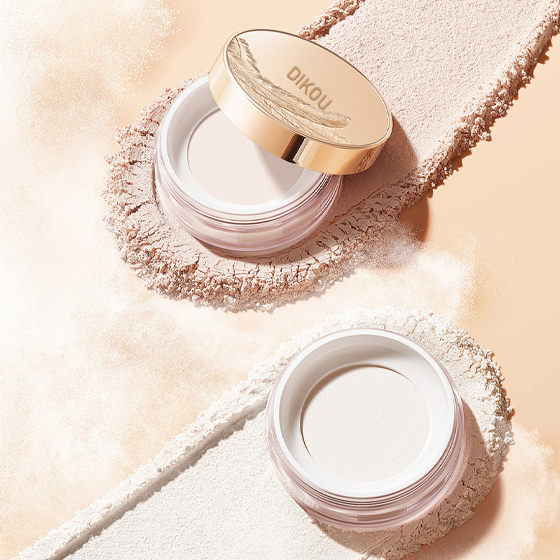
![图片[1]-How I Stopped Hating My Powder Foundation: 4 Steps That Actually Work](https://www.gddikou.com/wp-content/uploads/2025/12/11f5315d0f20251225110631.jpg)
I know it’s tempting to swirl your sponge around like you’re stirring coffee. Don’t.
What I do now: gently press the sponge onto the powder once, maybe twice. That’s it. Then I start on one cheek — just one — and lightly pat the powder across. Not swipe, pat. Think of it like tapping the powder into your skin, not rubbing it around.
I usually aim to cover about half my face with that first pickup. Then I go back for a tiny bit more and do the other side. This little habit alone stopped my face from looking like a dusty mask.
Step 2 – Forehead first, then follow your nose 👃
I used to just… smear powder everywhere. Big mistake.
Now I always start from the center of my forehead and blend outward. Once my forehead looks soft and even (not flat — just even), I drag the sponge down to my nose bridge.
Here’s where most people mess up: they forget the sides of their nose. You know, those little curved areas next to your nostrils? Yeah, those. I use the edge of the sponge and really get in there, up and down, gentle but thorough.
Also, don’t just glide over your nose like it’s a ski slope. Take your time.
Step 3 – Don’t forget your jawline (and neck!) 🌀
This one took me embarrassingly long to learn.
For years I’d powder my face and stop right at my jaw — like my neck didn’t exist. The result? A floating face mask effect. Cute? Not at all.
Now I blend from my ears down toward my chin, and then I soften the line between my face and neck. I literally turn my head side to side in the mirror and check. If I see a hard line, I blur it out with whatever powder is left on my sponge.
Trust me — this one step makes you look like you naturally have good skin, not like you’re wearing a powder costume.
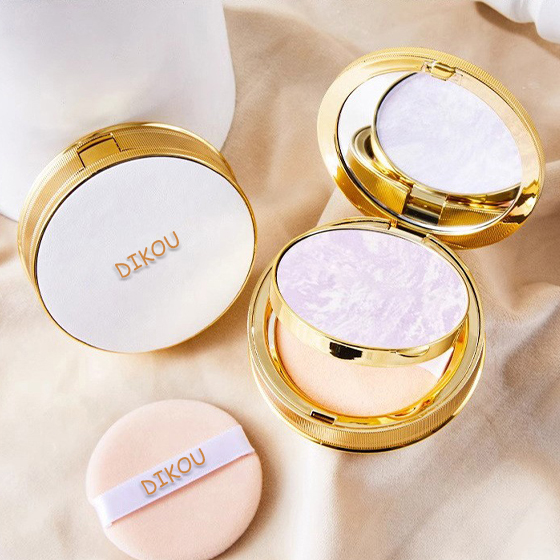
![图片[2]-How I Stopped Hating My Powder Foundation: 4 Steps That Actually Work](https://www.gddikou.com/wp-content/uploads/2026/03/f3ccdd27d220260309152422.jpg)
Step 4 – The forgotten spots: under nose & around eyes 👀
Okay, real talk. How many times have you powdered your whole face but left a weird shiny triangle right under your nose?
I used to do that all the time. Now I deliberately flip the sponge and press a tiny bit right under my nose, where nobody talks about but everyone sees.
And the eye area? Game changer. I used to skip it because I was scared of creasing. But leaving it completely bare just makes me look… tired. So now I take the cleanest part of my sponge and gently press (not rub) a whisper of powder under my eyes and around my lips. Not to cover — just to even things out.
That small step alone makes me look more awake. No expensive eye cream needed.
One last thing (the most important one)
You can follow every single step perfectly, but if you’re using the wrong powder for your skin, it won’t matter.
I’ve tried luxury powders that cost a small fortune and made me look like a sponge cake. And I’ve used drugstore powders that looked surprisingly beautiful. So forget the price tag. Forget the hype. What matters is how it feels on you — in your humidity, on your skin type, under your daily lighting.
So test. Pay attention. And don’t be afraid to admit a powder just isn’t for you.
Because at the end of the day, makeup should make you feel better — not more frustrated.